
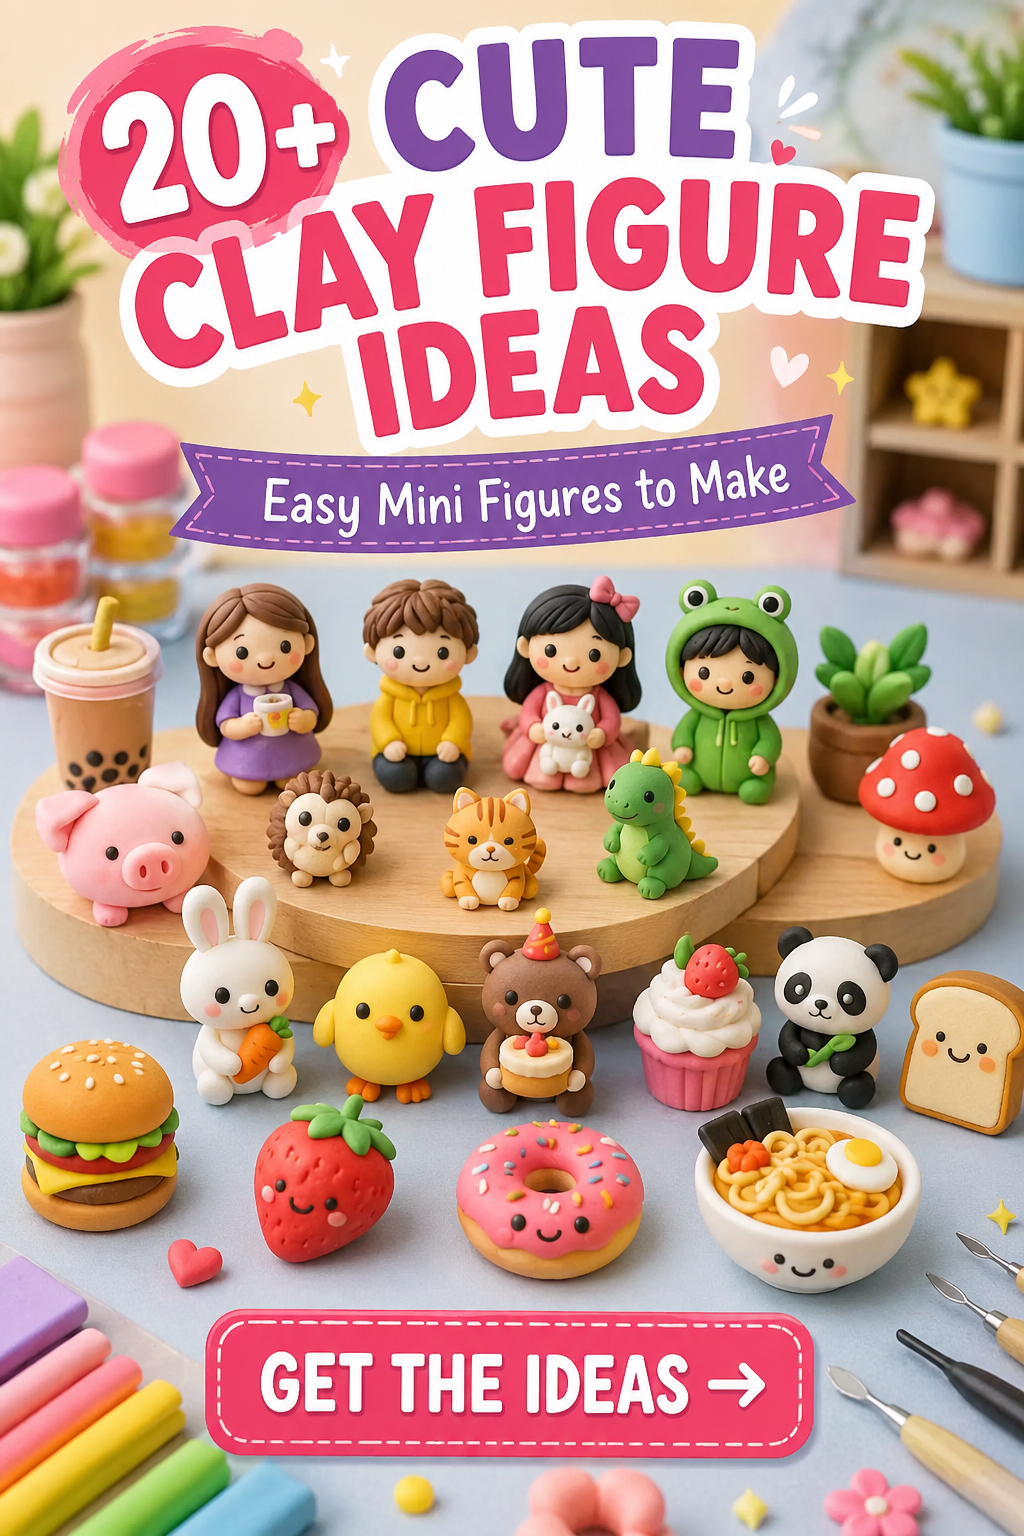
Meta Description: 20 clay figure ideas broken down step by step — cute, aesthetic, anime, couple, Halloween, and air dry designs, with tips for each one.
20 Clay Figure Ideas Explained (With Tips for Each One)
Scrolling through a wall of clay figure ideas on Pinterest is great for inspiration, but it rarely tells you how to actually make what you’re looking at. This guide breaks down 20 clay figure ideas one at a time — what makes each one work, what shapes to start with, and how to avoid the mistakes beginners usually run into. Whether you want small clay figures for your desk, a handmade gift, or something to post online, you’ll find a project here that fits your skill level.
A quick note on materials before we start: most of these ideas work with either polymer clay (which you bake to harden) or air dry clay (which sets on its own in 24–48 hours). We’ll flag which ones suit air dry clay figure ideas best, since that’s the easier route if you don’t want to use an oven.
1. Blob-Body Animal
This is the classic starting point for anyone new to sculpting, and it’s the foundation most other cute clay figures build on. Roll a soft oval for the body, a smaller ball for the head, and press them together instead of trying to make a defined neck. Add two dot eyes and a tiny triangle nose, and you already have a finished bunny, cat, or bear. Because there are no thin limbs to snap off, this is one of the sturdiest air dry clay figure ideas easy enough for a total beginner.

2. Chibi Self-Portrait
A chibi figure shrinks the body down to about a third of its normal size and enlarges the head, which makes proportions much more forgiving than a realistic human figure. Start with a rounded head shape, a short stubby body, and simplified stub arms and legs — you don’t need to sculpt fingers or joints. Match the hair color, outfit, and a signature accessory (glasses, a cap, a plant) to make it recognizably “you.” This is the easiest entry point into clay figure ideas human in style, since it skips the hardest part: realistic anatomy.
3. Sleepy Pastel Cloud
For a soft, aesthetic look, a cloud shape is nearly foolproof. Flatten a piece of white or pastel clay into a puffy, lumpy oval by pinching several rounded bumps along the top edge. Add a closed, sleepy expression with two curved lines instead of open eyes, and a light pink blush under each one. This design pairs well with a mini display shelf and is one of the most requested clay figure ideas aesthetic makers look for because of how minimal the shaping actually is.
4. Blushing Fruit Character
Turn a piece of fruit into a character by rolling a rounded base (strawberry, peach, or lemon shape), then adding a simple smiling face and blush marks on the cheeks. The stem or leaf on top becomes the main “accessory,” so you can keep the rest of the shape completely smooth. This is a fast one to batch — many people make a full set of five or six fruit characters in a single sitting to display together.
5. Mini Succulent in a Pot
Roll a small pinch pot for the planter, then build the succulent out of several tapered, curled clay petals arranged in a spiral. Add a tiny smiling face to just the pot or just the plant, not both, to keep the design clean. Because this idea has almost no fragile parts sticking out, it’s a strong pick if you’re specifically searching for cute air dry clay figure ideas that survive shipping or handling well.
6. Bride-and-Groom Pair
This is a popular gift and wedding-decor idea that works as a two-piece set. Build both figures using the same chibi proportions so they visually match, then differentiate them through outfit details — a small clay veil or bouquet for one, a bow tie or jacket lapel for the other. Keep both figures on a shared thin base so they can be displayed standing side by side without tipping over.
7. Grumpy Potato
A humor-focused figure is a great palate cleanser after making several “cute” pieces. Start with an irregular, lumpy oval (the less symmetrical, the better) and add small stub arms crossed or hands on hips. The expression does all the work here — draw thick, angled eyebrows and a flat, unimpressed mouth. This kind of clay figure ideas funny piece tends to get the most reaction when shared online because the humor reads instantly.
8. Matching Couple Figures
For a couple design, build two smaller chibi figures holding hands or sharing one heart-shaped prop between them. Instead of making the figures identical, give each one a distinct hair color or outfit detail so they read as two individuals rather than a copy-paste pair. If you’re specifically making clay figure ideas for bf, personalize the outfit to match something he actually wears — a hoodie color, a cap, or a hobby item like a controller or skateboard makes it feel intentional rather than generic.
9. Anime Character Bust Clay Figure Ideas
Rather than sculpting a full body, a bust (head, neck, and shoulders only) lets you focus your detail budget on the face and hair, which is where anime characters are most recognizable. Build the head first, add the hairstyle in large chunky sections rather than thin strands, then use a fine tool to add small line details for eyes. This scaled-down approach is one of the more manageable clay figure ideas anime fans can attempt without needing advanced sculpting skills.
10. Simplified Pokemon Figure
Pick a Pokemon with a rounded, simple silhouette for your first attempt rather than one with thin limbs or wings. Build the main body shape first, then add color blocking with separate clay pieces rather than painting details on afterward — this keeps the color solid even if the surface gets touched. A lineup of three or four figures from the same evolution family makes a strong display set.
11. Bad Hair Day Character
This is a simple twist on the standard chibi figure that leans into exaggeration for comedic effect. Build the base figure normally, then make the hair dramatically oversized, spiked in random directions, or standing straight up. Keep the facial expression tired or startled to match the energy of the hair. It’s a low-effort, high-payoff idea if you want something funny without redesigning the whole body.
12. Ghost with a Wavy Base
For Halloween season, a ghost is one of the simplest shapes to make look good. Instead of a flat bottom, taper the base into two or three soft waves, like the bottom of a bedsheet, which reads instantly as “ghost” without any other detail needed. A simple oval mouth and two dot eyes finish the look. This is a strong option if you’re making a batch of small clay figures for a Halloween display, since each one takes only a few minutes.
13. Carved Pumpkin Character
Build a slightly flattened round base and score vertical lines around it with a clay tool to mimic pumpkin ridges before adding a face. Cut a simple triangle-eyed smile into the surface for a jack-o-lantern look, or keep the face flat and painted on for a softer, cuter version. A small clay stem on top finishes the shape.
14. Tiny Donut with Sprinkles
Miniature food is one of the most satisfying categories because the shapes are already familiar. Roll a flattened ring for the donut base, add a contrasting color layer on top for the glaze, and press small clay dots into the glaze while it’s still soft to look like sprinkles. This is a great one for practicing layering different clay colors without needing any sculpting precision.
15. Stack of Pancakes
Layer three or four flattened, slightly uneven circles on top of each other, then add a small yellow square on top for the butter and thin drizzled lines down the side for syrup. The slightly imperfect, uneven stacking is what makes it look hand-poured rather than plastic, so resist the urge to make each layer perfectly even.
16. Curled-Up Fox or Cat
Instead of a standing pose, curl the animal’s body into a tight circle with the tail wrapped around, which is both easier to balance and reads as instantly cozy. Build the body as one continuous curved shape rather than separate pieces, then add the head and tail as the only two additions. This pose hides a lot of proportion mistakes, which makes it a good option if a standing animal figure isn’t turning out right.
17. Rainbow Caterpillar
This is one of the best clay figure ideas for kids because it only requires rolling balls and pressing them together in a row — no fine motor detail work required. Use a different color for each ball to build the rainbow effect, then add two small antennae and a face on the front ball only. It’s forgiving, colorful, and finishes fast, which keeps younger kids engaged for the whole project.
18. Handprint Creature
Press a child’s hand gently into a flattened slab of clay to create a handprint base, then let the fingers become the “legs” of a creature once painted or detailed. Add eyes and a mouth to the palm section. This one works especially well as a keepsake gift since it captures an actual handprint rather than being a generic shape.
19. Diorama Scene
Once you’re comfortable with individual figures, combine two or three of them into a small scene — a tiny desk setup, a garden corner, or a bedroom nook — built on a shared base. Keep the scale consistent across every piece in the diorama so nothing looks oversized next to the others. This is one of the more advanced clay art figure ideas, but it’s really just several of the earlier ideas on this list arranged together.
20. Shadow-Box Display Set
Rather than a single figure, build three to five smaller pieces specifically designed to be viewed together in a shadow box or on a small shelf — think a themed set like “seasons,” “desserts,” or “moods.” Keep the color palette consistent across the whole set so it reads as one cohesive collection rather than random unrelated pieces. This is a strong way to showcase a series of small clay figures once you’ve built up a small collection.
Quick Tips That Apply to All 20
- Keep pieces on the thicker side if you’re using air dry clay — thin points are the most common place it cracks
- Smooth seams with a lightly wet fingertip instead of adding more clay on top
- Bake or dry test pieces before committing to a full set, since shrinkage and color can shift slightly
- Seal finished figures with a matte or glossy varnish to protect paint and add durability
Frequently Asked Questions
Which of these ideas is best for a total beginner? The blob-body animal (#1) or the rainbow caterpillar (#17) are the easiest starting points, since both rely on simple rounded shapes with no fragile details.
Can I make these without an oven? Yes — most of these ideas work fine as air dry clay figure ideas. Just keep pieces slightly thicker than you would with polymer clay to reduce cracking as it dries.
What’s the best idea for a handmade gift? The bride-and-groom pair (#6), matching couple figures (#8), or a personalized chibi self-portrait (#2) all make strong, personal gifts.
How long does each figure usually take to make? Simple designs like the ghost (#12) or donut (#14) take 10–20 minutes to shape. More detailed pieces like the anime bust (#9) or diorama (#19) can take an hour or more, plus drying or baking time.
Pick one idea from this list, gather your clay, and start with whichever shape feels the most doable today — the fastest way to get better at clay figures is simply finishing your first one.
Recent Articles


